前回まではスターサーバ(旧WPBlog)からWordPressのデータをエクスポートしてAWS-LightSailのWordPressにデータをインポートして元のブログと同じ状態にするまででしたが、今回は複数のWordPress環境を一つのbitnamiインスタンスで稼働させてSSL化するまでとなります。ケチケチ仕様ではありますが本番・テストと複数必要な方には必見かと思います。マルチサイトでは環境依存など考えられますがApache・DB・PHPは一緒となりますがWordPress環境は別物になるので使えると思いますよ。
All-in-one wp migrationはマルチサイトだと有料
簡単なのはマルチサイトで複数のブログを公開する事なのですが「All-in-one wp migration」は有料版じゃないとマルチサイトは移行できないんです。単体のサイトなら無料版でOKですが、それならWordPress環境をもう一つ追加すれば単体の扱いでインポートできないかなぁ?と考えて検索すると、ありました。
bitnami環境にWordPressをもう一つ追加する
先人の方の知恵を参考にさせていただきながら作業を進めます。
https://www.marketechlabo.com/bitnami-multi-packages/
WordPressをインストールしていきます。
インストール手順はbitnami用のWordPressをダウンロードし、追加するWordPressの名前を指定するだけです。私は素直に「wordpress2」としました。インストール途中で問いがあるのでご自身の環境に合わせて設定してください。
ssh -i .ssh/key.pem -l bitnami XXX.XXX.XXX.XXX
#bitnami用のWordPressをダウンロードします
wget https://bitnami.com/redirect/to/772973/bitnami-wordpress-5.2.4-1-module-linux-x64-installer.run
#実行権を設定する
chmod a+x bitnami-wordpress-5.2.4-1-module-linux-x64-installer.run
#管理者権限でインストールを実行する
sudo ./bitnami-wordpress-5.2.4-1-module-linux-x64-installer.run --wordpress_instance_name wordpress2

Please select the installation language
[1] English - English
[2] Spanish - Español
[3] Brazilian Portuguese - Português Brasileiro
[4] Simplified Chinese - 简体中文
[5] Korean - 한국어
[6] Hebrew - עברית
[7] German - Deutsch
[8] Romanian - Română
[9] Russian - Русский
Please choose an option [1] : 1
--------------------
Please choose a folder that contains an installation of Bitnami.
Select a folder []: /opt/bitnami
--------------------
Create Admin account
Login [user]: user
Your real name [User Name]:
--------------------
Email Address [user@example.com]:XYXYXYX@gmail.com
--------------------
Please enter the existing MySQL password for Bitnami
Password :bitnamiの初期パスワードを入力
--------------------
WordPress
Please configure WordPress installation
Blog name [user's Blog!]: wordpress2
--------------------
Do you want to configure mail support? [y/N]: N
--------------------
Setup is now ready to begin installing Bitnami WordPress Module on your computer.
Do you want to continue? [Y/n]: Y
--------------------
Please wait while Setup installs Bitnami WordPress Module on your computer.

 Installing
 0% ______________ 50% ______________ 100%
 #########################################

Setup has finished installing Bitnami WordPress Module on your computer.
--------------------
Launch Bitnami WordPress Module [Y/n]: Y
インストール完了後に各種ファイルを修正する
バーチャルホストのconfファイルを修正します
/opt/bitnami/apache2/conf/bitnami/bitnami-apps-vhosts.confの
wordpress・wordpress2部分を修正(追記)する。
vi /opt/bitnami/apache2/conf/bitnami/bitnami-apps-vhosts.conf

# Bitnami applications installed in a Virtual Host
Include '/opt/bitnami/apps/wordpress/conf/httpd-vhosts.conf'
Include '/opt/bitnami/apps/wordpress2/conf/httpd-vhosts.conf'
各WordPress内のhttpd-vhosts.confファイルを修正します。SSL化していないので<VirtualHost *:443>は全てコメントアウトします。
vi /opt/bitnami/apps/wordpress(2)/conf/httpd-vhosts.conf

<VirtualHost *:80>
    ServerName house.life-type.com ・・・・ブログのURL
    ServerAlias house.life-type.com ・・・・ブログのURL 本来はwwwらしい
    DocumentRoot "/opt/bitnami/apps/wordpress2/htdocs"

    Include "/opt/bitnami/apps/wordpress2/conf/httpd-app.conf"
</VirtualHost>

#<VirtualHost *:443>
#    ServerName house.life-type.com
#    ServerAlias house.life-type.com
#    DocumentRoot "/opt/bitnami/apps/wordpress2/htdocs"
#   SSLEngine on
#    SSLCertificateFile #"/opt/bitnami/apps/wordpress2/conf/certs/server.crt"
#    SSLCertificateKeyFile #"/opt/bitnami/apps/wordpress2/conf/certs/server.key"
#
#   Include "/opt/bitnami/apps/wordpress2/conf/httpd-app.conf"
#</VirtualHost>
各WordPress内のhtdocs/wp-config.phpファイルを修正します。
vi /opt/bitnami/apps/wordpress(2)/htdocs/wp-config.php

define('WP_SITEURL', 'http://' . $_SERVER['HTTP_HOST'] . '/');
define('WP_HOME', 'http://' . $_SERVER['HTTP_HOST'] . '/');
修正が完了したらApacheを再起動させます
/opt/bitnami/ctlscript.sh restart apacheWordPressの管理画面にログイン
WordPressの管理画面へログインしますバーチャルホストで新たに設定した「https://blog.life-type.com/wp-admin」へアクセスします。ログイン時はbitanmiのパスワードを入力してください。
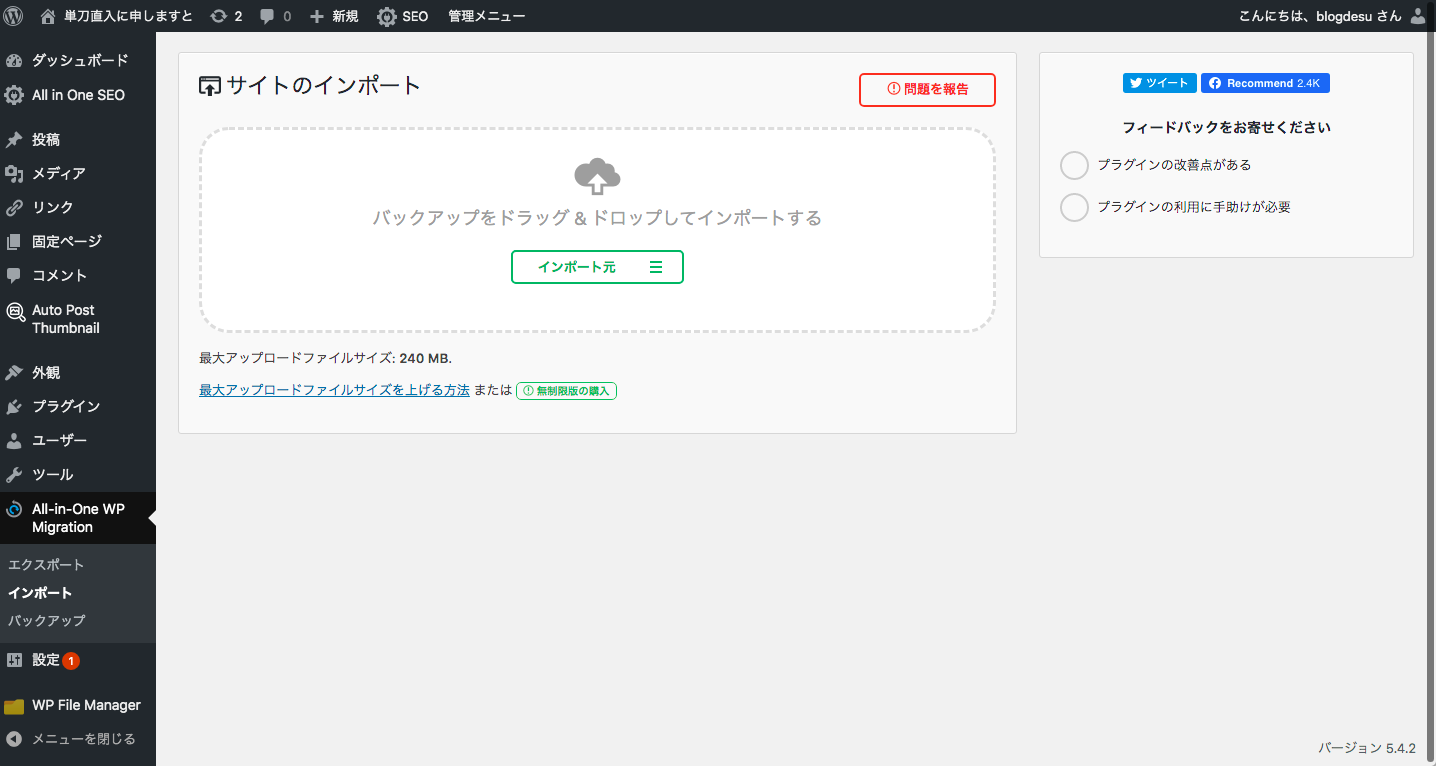
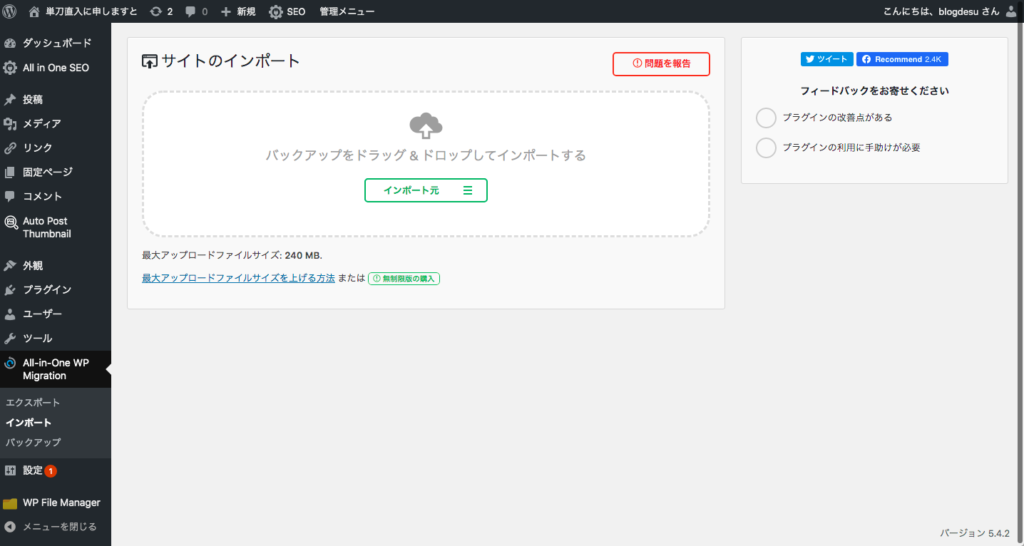
「All-in-one wp migration」のインポート
スターサーバからエクスポートしたファイルを指定してインポートを実行するだけです。※画面はイメージです
インポート完了すると、LightSailの1インスタンスに複数のWordPressが起動している状態になります。私の場合は
https://blog.life-type.com
https://house.life-type.com
各WordPressをSSL化
あとはSSL化ですね。スターサーバ無料版では独自ドメインのSSL証明書は設定できないので移転を決めた理由の一つかもしれませんね。最近は個人ブログでもSSL化は必須なようです。Google先生のお達しなので

コマンドのみを抜粋すると下記になります
sudo apt-get install git

git clone https://github.com/letsencrypt/letsencrypt
cd letsencrypt

./letsencrypt-auto certonly --webroot -w /opt/bitnami/apps/wordpress/htdocs/ -d blog.life-type.com

sudo cp /etc/letsencrypt/live/blog.life-type.com/fullchain.pem /opt/bitnami/apps/wordpress/conf/certs/server.crt
sudo cp /etc/letsencrypt/live/blog.life-type.com/privkey.pem /opt/bitnami/apps/wordpress/conf/certs/server.key
バーチャルホストの設定ファイルを修正してhttpsでのアクセスにも対応できるようにします。
vi /opt/bitnami/apps/wordpress(2)/conf/httpd-vhosts.conf

<VirtualHost *:80>
    ServerName house.life-type.com ・・・・ブログのURL
    ServerAlias house.life-type.com ・・・・ブログのURL 本来はwwwらしい
    DocumentRoot "/opt/bitnami/apps/wordpress2/htdocs"

    Include "/opt/bitnami/apps/wordpress2/conf/httpd-app.conf"
</VirtualHost>

<VirtualHost *:443>
    ServerName house.life-type.com
    ServerAlias house.life-type.com
    DocumentRoot "/opt/bitnami/apps/wordpress2/htdocs"
   SSLEngine on
    SSLCertificateFile "/opt/bitnami/apps/wordpress2/conf/certs/server.crt"
    SSLCertificateKeyFile "/opt/bitnami/apps/wordpress2/conf/certs/server.key"

   Include "/opt/bitnami/apps/wordpress2/conf/httpd-app.conf"
</VirtualHost>
Apacheを再起動して各WordPressにhttpsでアクセスできれば完了
/opt/bitnami/ctlscript.sh restart apache以上でAWS LightSailの1インスタンスにWordPress複数+SSL化が完了しました。調子に乗って環境を増やしすぎるとインスタンスのキャパシティーが枯渇して動かなくなる可能性があるのでインスタンスタイプとご相談しながら追加してください。私のような月間数万PVぐらいのアクセスなら10個ぐらい動かしても大丈夫じゃないかなぁと思います。次は別ドメインも移行できるか検証したいと思います。